

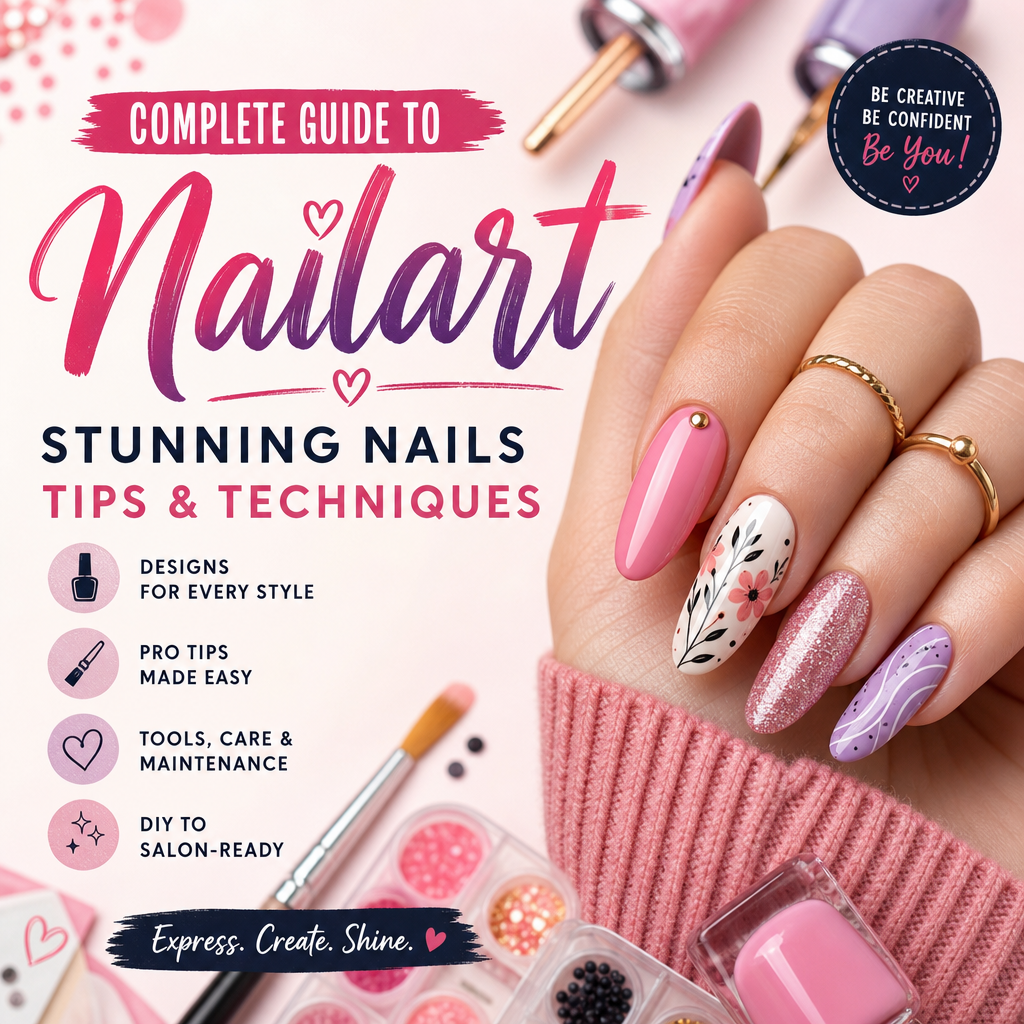
Nailart has become a popular form of self-expression and creativity, allowing individuals to transform their nails into miniature canvases. Whether you’re a beginner or a seasoned pro, this complete guide to nailart will help you master various techniques, tips, and trends to keep your nails looking stunning.
What is Nailart?
Nailart refers to the practice of decorating and styling nails using various tools, designs, and products. It ranges from simple polish applications to intricate designs involving jewels, stamps, and 3D effects. Nailart can be as subtle or as bold as you desire, making it a versatile way to enhance your overall look.
Essential Tools for Nailart
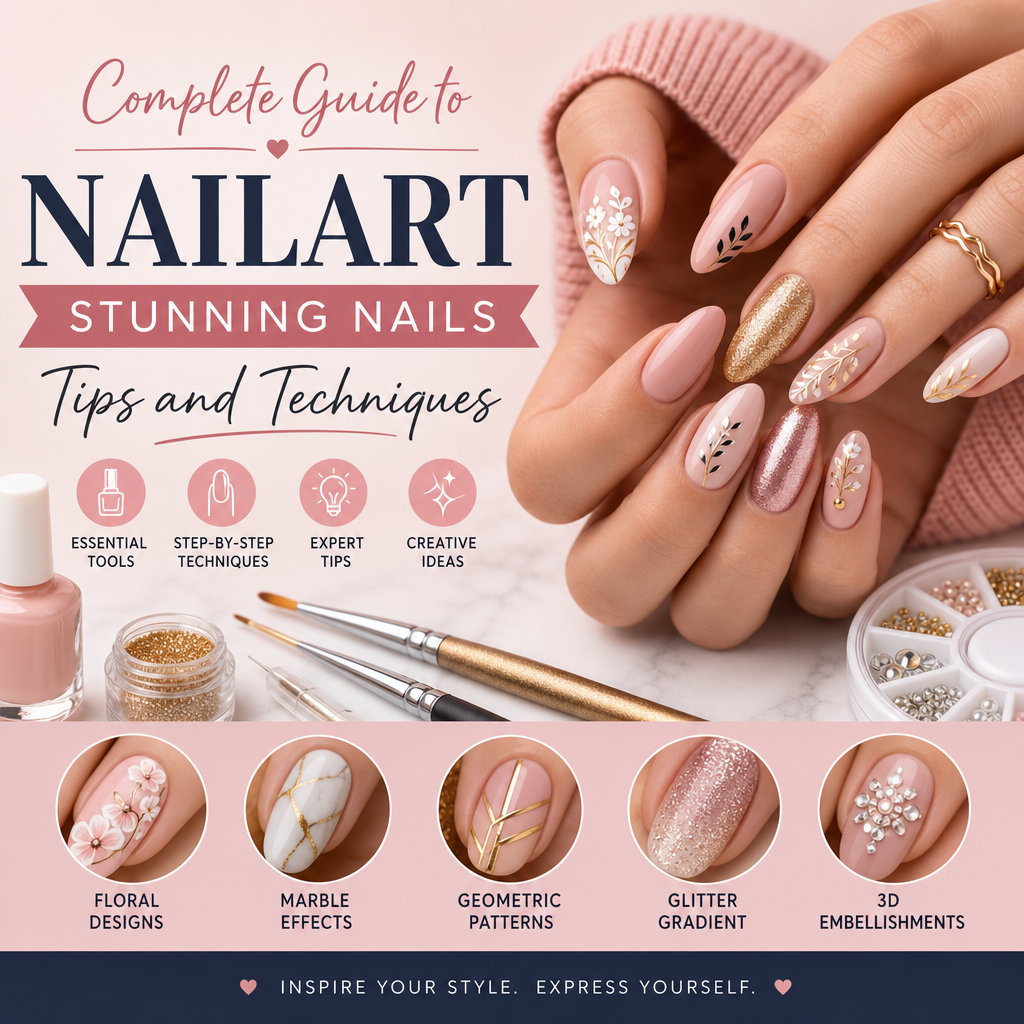
Before diving into nailart, it’s important to have the right tools. Here’s a list of must-have supplies:
- Nail polish: Base coats, colors, and topcoats.
- Dotting tools: For creating dots and patterns.
- Nail brushes: Fine brushes for detailed designs.
- Striping tape: Helps make clean lines and geometric shapes.
- Nail decals and stickers: For quick and easy designs.
- UV/LED lamp: Needed for gel nailart.
- Nail file and buffer: To shape and smooth nails.
- Cuticle pusher and trimmer: For clean nail beds.
- Nail glue: Attaches embellishments and tips.
Basic Nailart Techniques
1. French Manicure
A classic style that involves painting only the tips of nails white while keeping the base nude or light pink. You can customize the tips with different colors or glitter for a modern twist.
2. Polka Dots
Using dotting tools or even a toothpick, create polka dots over a base color. This simple design is playful and easy to do at home.
3. Stripes
Apply striping tape to create clean lines or geometric patterns. Paint over with your chosen color and peel off the tape for sharp stripes.
4. Gradient Nails (Ombre)
Blend two or more polish colors using a sponge. This creates a beautiful gradient effect, perfect for subtle or dramatic nailart.
Step-by-Step Guide to Create Nailart at Home
Step 1: Prepare Your Nails
Start by removing any old polish, filing your nails to your preferred shape, and pushing back cuticles for a clean base.
Step 2: Apply Base Coat
A base coat protects your nails from staining and helps the polish last longer.
Step 3: Choose Your Design
Decide on the nailart design you’d like to try — from simple dots to intricate floral patterns.
Step 4: Apply Nail Polish
Paint a base color and let it dry completely before adding designs.
Step 5: Create the Nailart
Use dotting tools, brushes, or stickers to apply your chosen design carefully.
Step 6: Seal with Topcoat
Finish with a topcoat to add shine and prolong the wear of your nailart.
Trending Nailart Styles in 2024
- Minimalist Lines: Thin black or white lines on nude nails.
- Floral Patterns: Hand-painted or stamped flowers.
- Negative Space: Designs that leave parts of the nail bare.
- Chrome and Metallics: Shiny, reflective finishes.
- Geometric Shapes: Triangles, squares, and abstract shapes.
Nail Care Tips for Healthy Nails
Nailart looks best on healthy nails. Follow these tips to keep your nails strong:
- Moisturize cuticles daily.
- Avoid harsh chemicals; wear gloves during cleaning.
- Don’t bite or pick at nails.
- Give your nails breaks between polish applications.
- Maintain a balanced diet rich in vitamins.
Conclusion
Nailart is a fun and creative way to express yourself and enhance your style. By understanding the tools, techniques, and trends outlined in this guide, you’ll be well-equipped to create beautiful nails that stand out. Whether you prefer subtle elegance or bold statements, there’s a nailart style for everyone. Start practicing today, and let your nails be your canvas!
For more inspiration and detailed techniques, check out our Nailart: Complete Guide to Stunning Nail Designs and Tips.
